Aroma Rice Cooker Instructions: How to Make Perfectly Cooked Rice Every Time
In this article, we will provide you with comprehensive Aroma rice cooker instructions to help you make perfectly cooked rice every time. Whether you are a beginner or an experienced cook, our step-by-step guide will ensure that you achieve fluffy and delicious rice with your Aroma rice cooker. Read on to learn more!

The two types of Aroma rice cookers
1. Introduction to Aroma Rice Cookers
Aroma rice cookers are known for their versatility and ease of use.
These appliances are designed to simplify the rice cooking process, allowing you to achieve consistent results without much effort.
Aroma rice cookers come with various features and settings, making them suitable for different types of rice, including white rice, brown rice, and even sushi rice.
Before diving into the instructions, let's familiarize ourselves with the basic components and functions of an Aroma rice cooker.
2. Unboxing and Setup
When you first receive your Aroma rice cooker, carefully unbox it and ensure that all the necessary components are included.
Typically, the package should contain the rice cooker unit, inner pot, lid, measuring cup, and rice paddle.
Once you have everything ready, clean the inner pot and the accessories thoroughly before starting.
Next, place the inner pot into the rice cooker and add the desired amount of rice and water using the measuring cup provided.
Remember to refer to the rice-to-water ratio mentioned in the user manual for accurate measurements.
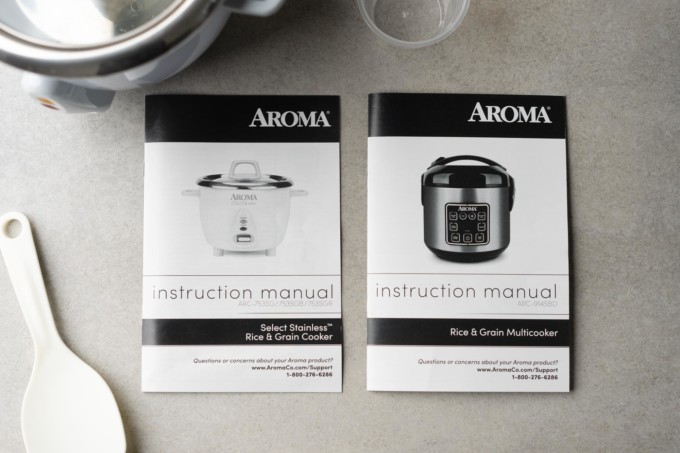
The Aroma rice cooker manuals
3. Choosing the Right Setting
Aroma rice cookers offer different cooking settings to accommodate various types of rice.
Common options include white rice, brown rice, quick rice, and steam. To choose the appropriate setting, consider the type of rice you are using.
For example, if you are cooking white rice, select the white rice setting.
Similarly, choose the brown rice setting for brown rice. Some advanced models also have a delay timer feature, allowing you to schedule the cooking process according to your needs. Once you have selected the desired setting, you can move on to the next step.
4. Cooking Process
After selecting the appropriate setting, close the lid of the Aroma rice cooker securely.
Plug in the rice cooker and press the power button to start the cooking process. The cooker will begin to heat up, and the rice will gradually absorb the water.
During this time, avoid opening the lid to ensure consistent cooking.
Aroma rice cookers are designed to automatically switch to the "keep warm" mode once the rice is cooked. This feature helps to keep the rice warm and fresh until you are ready to serve it.
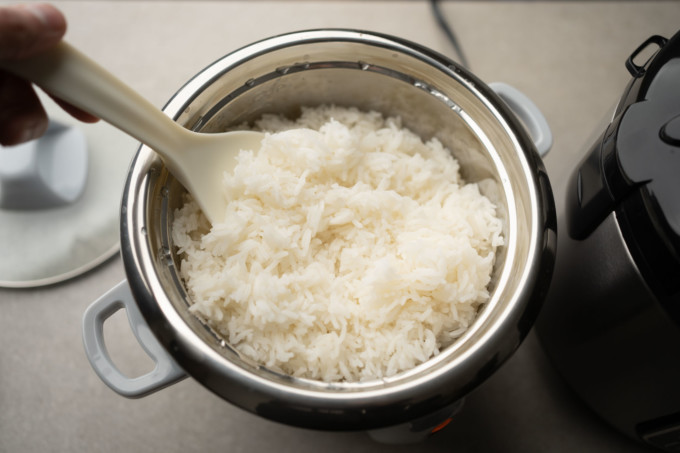
The aroma select fluffed rice
5. Serving and Maintenance
Once the cooking process is complete, allow the rice to sit in the cooker for a few minutes before opening the lid.
This will help the rice to settle and become fluffier. Use the rice paddle to gently fluff the rice and transfer it to a serving bowl.
Aroma rice cookers are known for their non-stick inner pots, making it easy to remove the rice without any hassle.
After serving, clean the inner pot, lid, and accessories with warm soapy water. It is important to maintain your Aroma rice cooker regularly to ensure its longevity and optimal performance.
With our comprehensive Aroma rice cooker instructions, you can now confidently prepare perfectly cooked rice every time. By following the step-by-step guide and selecting the appropriate settings, you will be able to enjoy fluffy and delicious rice with minimal effort. Get ready to impress your family and friends with your culinary skills!