How to Make Bone Broth: A Step-by-Step Guide to Nourishing and Flavorful Homemade Broth
Bone broth is a nutritious and flavorful liquid that is made by simmering bones and connective tissues for an extended period of time. It is rich in minerals, collagen, and amino acids, making it a popular choice for those seeking a nourishing and healthful drink. In this article, we will guide you through the process of making bone broth from scratch.
Ingredients:
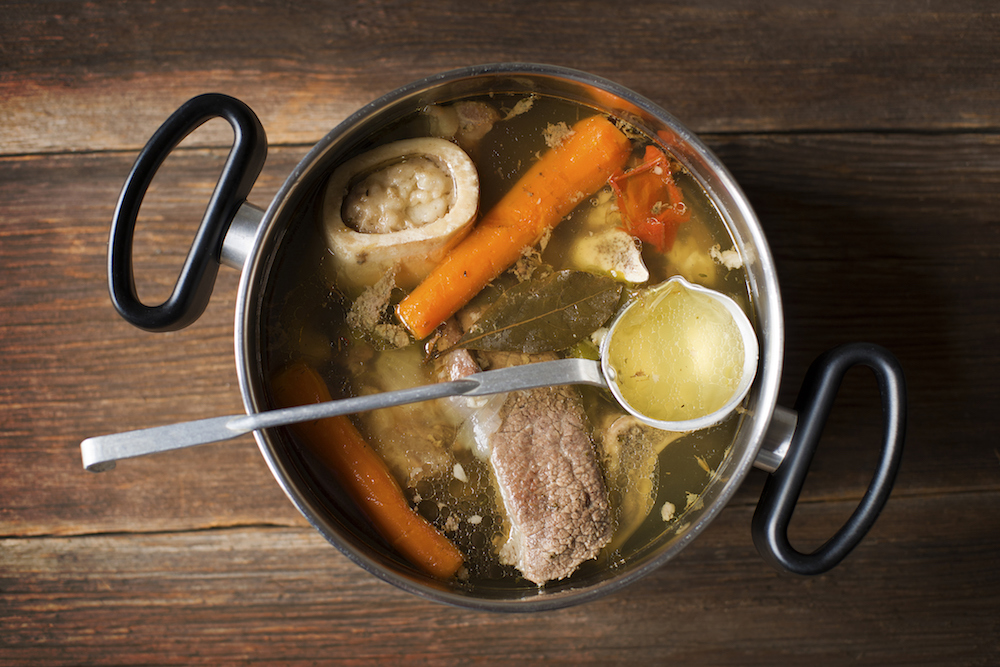
- 2-3 pounds of bones (beef, chicken, pork, or a combination)
- 2 tablespoons of apple cider vinegar
- 1 onion, roughly chopped
- 2 carrots, roughly chopped
- 2 celery stalks, roughly chopped
- 4 cloves of garlic, smashed
- 1 teaspoon of salt
- 1 teaspoon of whole peppercorns
- A handful of fresh herbs (such as parsley, thyme, or rosemary)
- Water
(Bone Broth)
Step 1: Choosing the Bones
To make bone broth, it's important to start with high-quality bones. Look for bones from organic, grass-fed animals if possible, as they will provide the best flavor and nutritional value. You can use a single type of bone or a combination, depending on your preference.
Step 2: Roasting the Bones (Optional)
Roasting the bones before simmering them can add depth and richness to the flavor of the bone broth. Preheat your oven to 400°F (200°C). Place the bones on a baking sheet and roast them for about 30 minutes, or until they turn golden brown. This step is optional but highly recommended.
Step 3: Preparing the Vegetables
While the bones are roasting, prepare the vegetables. Wash and roughly chop the onion, carrots, and celery stalks. Smash the garlic cloves to release their flavor.
Step 4: Simmering the Broth
In a large stockpot, combine the roasted bones, chopped vegetables, smashed garlic cloves, apple cider vinegar, salt, peppercorns, and fresh herbs. Fill the pot with enough water to cover the ingredients by about an inch.
Step 5: Bringing to a Boil
Place the stockpot on the stovetop over medium-high heat and bring the mixture to a boil. Once it reaches a boil, reduce the heat to low and let it simmer gently. Skim off any foam or impurities that rise to the surface using a spoon.
Step 6: Slow Simmering
Let the bone broth simmer for at least 12 hours, but preferably up to 24-48 hours. The longer it simmers, the more flavor and nutrients will be extracted from the bones. Keep an eye on the pot and add more water if needed to ensure the ingredients remain covered.
Step 7: Straining the Broth
After the desired simmering time, remove the pot from the heat and allow it to cool slightly. Use a slotted spoon to remove the larger pieces of bones and vegetables from the broth. Then, strain the broth through a fine-mesh strainer or cheesecloth into a large bowl or containers. This will remove any remaining solids and result in a clear, smooth broth.
Step 8: Storing and Using the Broth
Once the bone broth has cooled, transfer it to airtight containers and store it in the refrigerator for up to 5 days. You can also freeze it for future use. Use the bone broth as a base for soups, stews, sauces, or enjoy it as a warm and comforting drink on its own.
Tips:
- You can add additional herbs and spices to the bone broth, such as bay leaves, turmeric, or ginger, to enhance the flavor and health benefits.
- For a more gelatinous broth, add a few pieces of chicken feet or beef knuckles to the mix. These parts are rich in collagen, which gives the broth a thicker consistency.
- If you prefer a clearer broth, you can blanch the bones before simmering them. Simply place the bones in a pot of boiling water for a few minutes, then drain and rinse them before proceeding with the recipe.
Watch the video
In conclusion, making bone broth requires time and patience, but the results are well worth it. By following these steps, you can create a flavorful and nutrient-dense broth that can be used in various recipes or enjoyed on its own. So, gather your ingredients, set aside some time, and embark on the journey of making your own delicious bone broth.